



Water stains, peeling paint, bubbling wallpaper, and soft drywall are all signs of moisture damage. In more advanced cases, you might detect warped wood, musty odors, mold, active drips, or puddles.
Regular DIY inspections allow homeowners to identify issues while they’re still minor. Typically, the more quickly the issue is addressed, the more money homeowners will save on repairs in the long run.
Know the Home
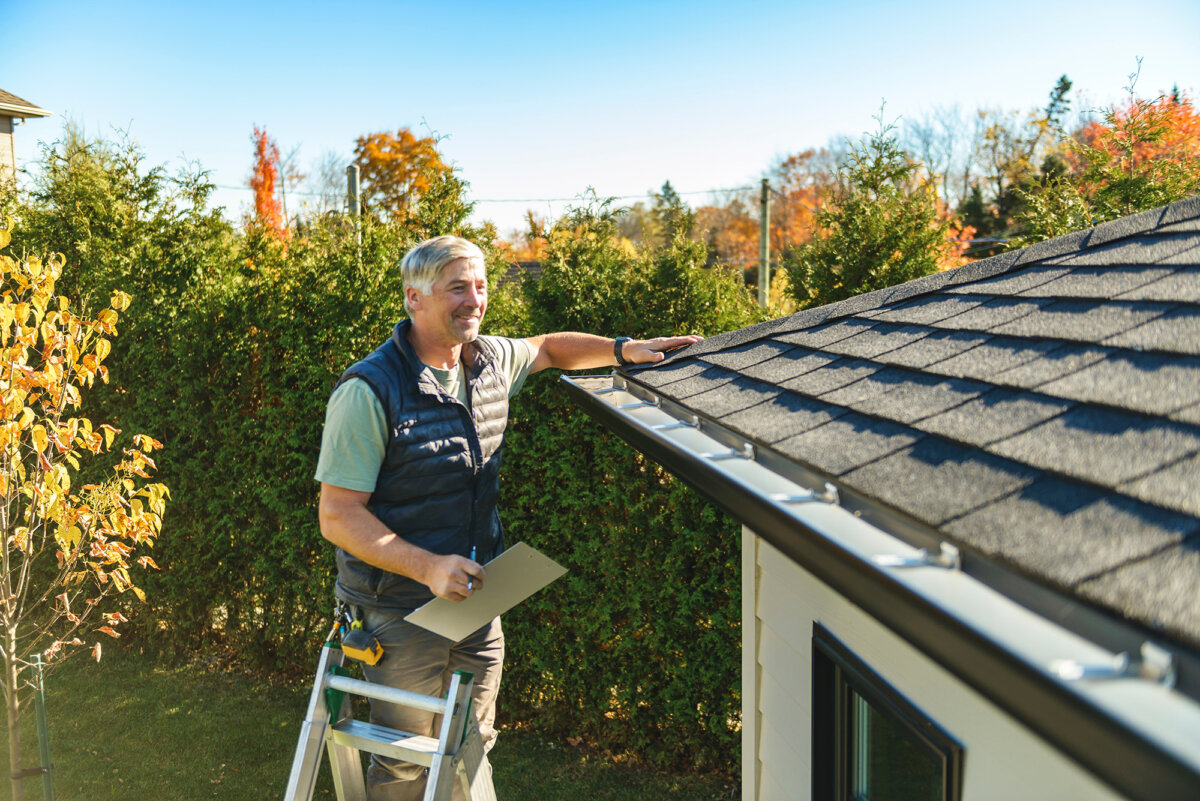
Many disasters can be prevented by walking the roof every spring and fall or after major storms. Eye the condition of the shingles and flashing around roof vents. Are there any cracking, curling, or missing pieces? Make sure the gutters are working properly, then pop up in the attic to check for water stains, mold, dampness, or worse yet, daylight peeking through. Make any needed repairs as soon as possible.
Windows and Doors
Check the exterior caulk and weatherstripping on windows and doors. Open and close them to check for proper alignment, since misalignment can lead to water intrusion and air leaks.
See a suspicious spot? An inexpensive moisture meter will provide a more accurate answer than a touch test. If you don’t know where the moisture is coming from, you can ask a family member or neighbor to help you conduct a water test. Have them stand outside with a hose while you stand indoors near the wet spot. They’ll spray hose water at the bottom and work upward until the entry point is found. Instead of pressure-hosing it, try to replicate rainwater for the most accurate results. If the windows and doors appear to be completely watertight, look higher, as the source may be a roof leak dripping down from above.
As a note, don’t confuse condensation with a water leak. Moisture on single-pane glass happens, but moisture between the layers on double- or triple-pane windows is a sign of a failed seal and may require a professional fix. The good news is it may be covered under the typical 10- to 20-year warranty.
Tech Tools
DIY basics include a bright flashlight for attics, your handy moisture meter, and something to mark leak paths or suspicious stains, such as a pencil, chalk, or painter’s tape. You’ll want to mark them to see if they get bigger after the next rain.
These days, many pro inspection tools are within reach of the average homeowner. Thermal imaging cameras (infrared cameras) are used to find hidden leaks, even under paint, ceiling texture, and roofing material. The display shows wet spots as temperature differences, with the damp areas appearing cooler. Although pro models are pricey, costs can be kept down by purchasing a thermal module that attaches to a smartphone app. Borescopes are similar smartphone-run cameras that can be run through small holes in the wall to see what lies behind it.
Smoke machines have also come down in price and can be used to quickly find air leaks, which may be allowing water in around windows and doors.
Recalcitrant Roof Leaks
Some roof leaks are simple and easy to fix, such as a wet spot in the attic that lies directly beneath a missing shingle or vent boot. Unfortunately, most roof leaks can travel away from the source, with water even running upward along the sheathing, framing, or other surfaces before appearing indoors.
To identify the source, look in the attic for signs of staining, darkened wood, or mold on the underside of the roof, and don’t forget to examine the attic floor or exposed sheetrock. Look for flow lines, which are trails of damage that lead back to the initial leak.
If you can’t find the source, or it’s a flat roof with no attic, go outside and give the roof a thorough visual inspection. If a thermal camera is available, use it. If not, the hose test also works for roofs. The person with the hose stands on the ground and starts spraying approximately six-foot-square zones until soaked, beginning at the bottom of the roof, while the person inside looks for incoming water.
If there are multiple water stains, it may be one leak traveling, or the roof is leaking in several spots. A professional inspection is likely in order. How old is the roof? It may be time for replacement.
____________________________
Roof Rescue
Before foul weather sets in, get some large, heavy-duty tarps, along with rope or bungee cords to tie them down, or 2-by-4 battens for anchoring the tarps to the roof. Be safe!
Safety Warning
If the roof is significantly storm damaged, it may not be safe to walk on. Get out the ladder and binoculars for as close an inspection as possible. Use a thermal imaging camera, too, if available. Look in the attic for water intrusion, and look out any upstairs windows at roofs below. If the kids have a drone, use it!
Alternate Plan
A roof that can’t be stood on safely can still be tarped with nail-free methods. Rope and bungees can be attached to chimneys, nearby trees, and other anchors. Sandbags can be used to weigh the edges. Extend the tarp at least four to six feet beyond the damaged area for the best seal.
Emergency Kit Essentials
As stores may be closed immediately after a big storm, it’s important to have at hand a gallon (at least) of a rubberized wet patch designed to work even in standing water, plus a trowel to apply it. Also consider a roofing sealant designed to fit in a caulk gun, roof repair tape, and a silicone or polyurethane caulk for around windows and doors.
